
Given that your Kubota Ripper has been subjected to countless hours of use by you – and probably some other weary hands before you – it’s logical to think that it can easily rattle off another hundred before breaking down. That being said, it’s important to make sure the machine looks its best when it’s done. Problems with the exterior can quickly lead to problems in the interior; there’s just no avoiding that. To maintain your Kubota Ripper for as long as possible.
Use the Kubota Ripper Only on a Stable Surface
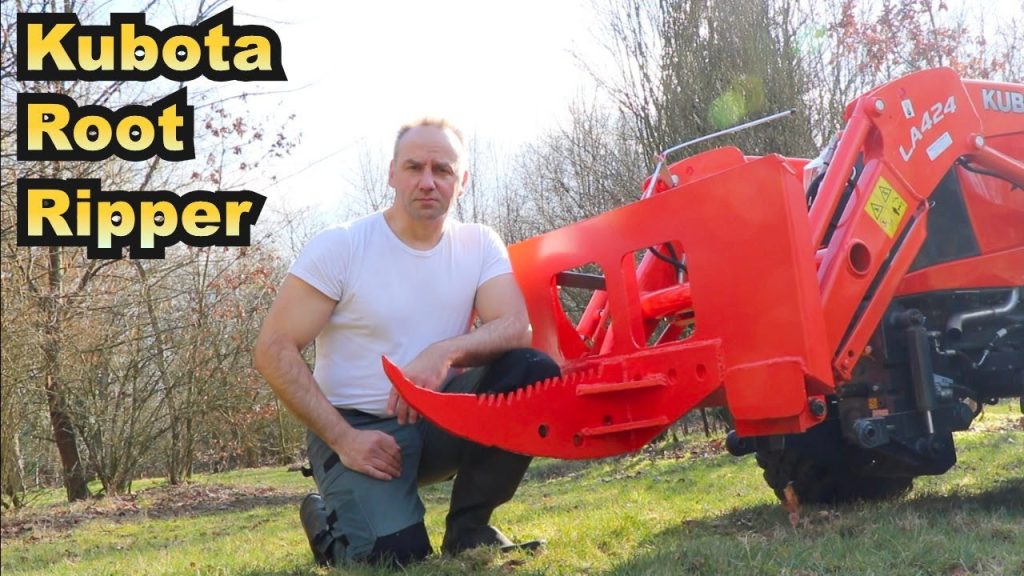
The Kubota ripper is a piece of equipment used for breaking up soil and rocks. The primary use of the ripper is to loosen the dirt before tillage, or to break up and loosen rocks and other large pieces of debris from the soil. The ripper should only be used on a stable surface, as it can cause accidents otherwise.
Step 1
Make sure that the area where you are using the Kubota ripper is free from obstacles that could get caught in the machine or cause it to tip over.
Step 2
Drive the Kubota over any loose rocks or branches in your path with the ripper prongs folded up so they do not get damaged. You can also remove them if necessary.
Step 3
Tilt the ripper prongs down when you reach your work area.
Clean the Kubota Ripper After Use
Kubota is a tractor and heavy equipment manufacturer based out of Osaka, Japan. The Kubota Corporation was started in 1890 by Gonshiro Kubota. The company’s first product was an automatic rice planter. Today, Kubota manufactures a wide range of farm equipment and construction equipment, including tractors and implements such as rippers. The Kubota ripper is a tool used to break up soil for planting or plowing.
Clean the ripper after use to prevent damage to the tool. A dirty ripper will increase the wear on all moving parts of the tool.
Clean the Kubota Ripper After Use
1.Park the tractor on a flat surface, set the parking brake and lower all implements to the ground. Turn off the engine and remove the key from the ignition switch.
2.Remove any loose debris from around moving parts of the tool with a stiff bristle broom or brush. Remove any additional dirt or dust with a rag moistened with water or solvent, if necessary.
3.Lubricate all points on the implement that are designed to be lubricated by checking your owner’s manual for specific locations if you are uncertain about where they are located. Apply grease to those points using a grease gun until excess grease leaks out
Check for Kubota Ripper Loose Bolts
Kubota rippers can be used to remove rocks and roots that interfere with the planting of crops or lawns. Rippers are mounted on the back of Kubota tractors, usually to the rear three-point hitch. They can have one shank (the part that actually digs into the ground) or multiple shanks. Because they are attached to the tractor’s hydraulic system, they can be raised and lowered at will. When using a Kubota ripper, make sure all bolts are tight before use and periodically check them for tightness during use.
Step 1
Park the tractor on level ground and turn off the engine. Raise the ripper up to its highest position so you can access all of its bolts.
Step 2
Put on a pair of heavy leather gloves to protect your hands from sharp metal edges. Use a socket wrench and socket to tighten any nuts or bolts that came loose due to vibration from operation. Wrench until it is snug, but do not over-tighten as this could damage or crack the bolt head or nut.
Step 3
Check around each bolt for cracks in metal or damage to threads (the ridged areas on a bolt that allow it to screw into another piece). If you find a damaged bolt, replace
Make Use of Engine Oil Appropriate for the Kubota Ripper
The Kubota ripper is a tool that can be used to break up the hard and compacted soil. It is made of high quality materials and is durable. In order to make use of this tool perfectly, it is important that you follow the instructions carefully.
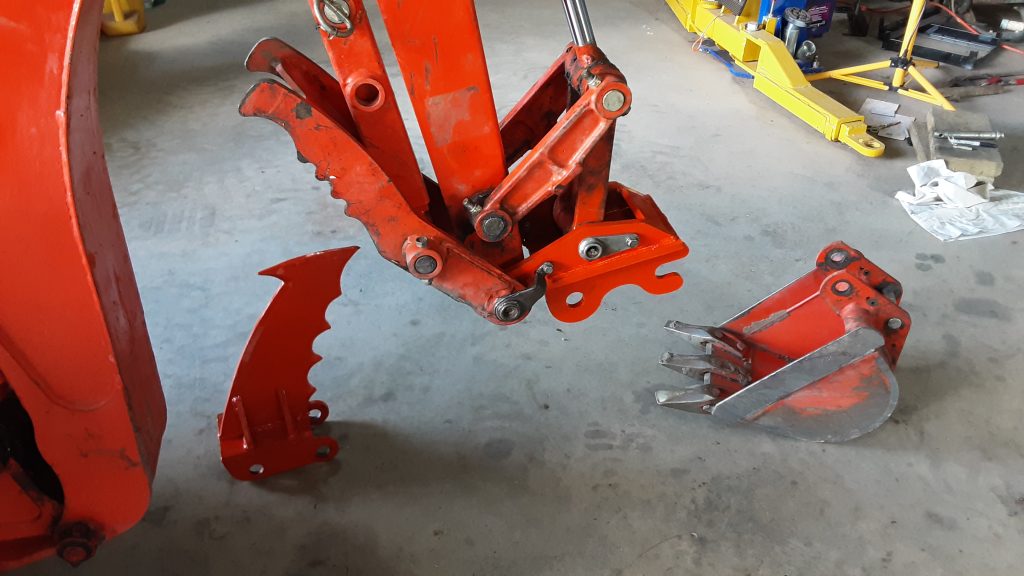
The first thing that you have to do when using the Kubota ripper is to attach it to your tractor. This can be done by removing the seat from the tractor and placing it on the ground. Then, you should attach the ripper to your tractor. Make sure that it is securely attached so that it does not fall off during operation.
Once you have attached the ripper, you should place it on top of your tractor. Make sure that you place it on top of your tractor properly so that there are no gaps between them. You should also ensure that there are no loose pieces in between the two objects. Once this has been done, you should then place a bucket under the ripper and fill it with water or oil. If you want to add some oil into the bucket, you should use engine oil appropriate for the Kubota ripper.
After filling the bucket, you should then turn on your engine and allow it to run for about twenty minutes before turning off your engine again
By following these tips, you will be able to maintain your kubota ripper properly
The Kubota Ripper is a very important piece of machinery in the agricultural industry. This is why it is very important for you to maintain it properly.
Here are some tips that you may want to take note of:
1. When storing your equipment, make sure that you cover it well with tarpaulin or plastic cover. This will protect your equipment from weather elements such as sun and rain. Do not forget to include your oil filters and hoses when you are covering your machine.
2. Before operating your equipment, always check if all its parts are working properly. Check if all the tubes and hoses are intact and free from any leaks before starting the engine. Also check if there are any loose nuts and bolts lying around before operating the machine.
3. Always make it a habit to keep clean your Kubota Ripper at all times. You should always check for any dirt, mud, debris or any other kind of material that can clog up the machine’s drain holes or clog the fuel filter in case it comes into contact with them.