
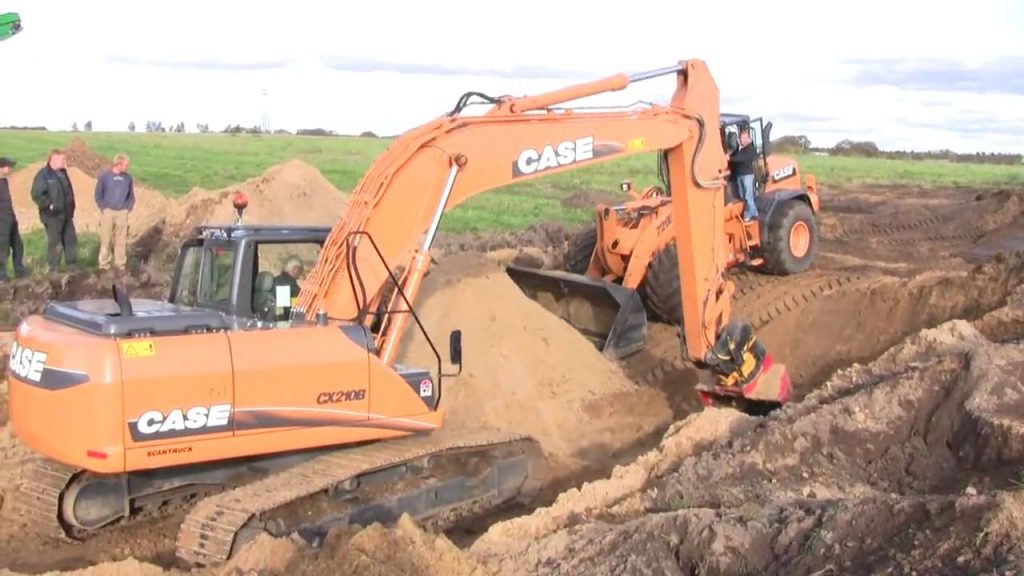
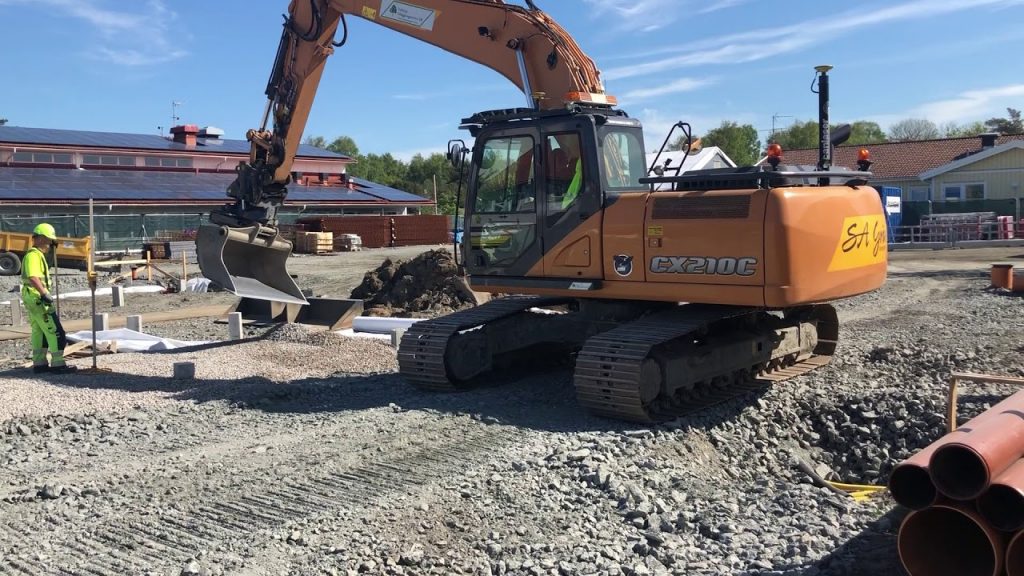
Case cx210 Excavator was a popular model of Case Backhoe Loader Machine of company. This excavator machine is a kind of hydraulic excavator by using J7 engine. It has the advantages of high efficiency, high cost performance, good reputation and so on. This type excavator machine was exported to South Africa, Sudan, Ivory Coast and so on. There are many operations problems in this operation machine at working places and there are many solutions to solve these problems.
Control cx210 case excavator valve block replacement
Control cx210 case excavator valve block replacement
The valve block of the control of the excavator is a very important component, which can be said that the heart of the excavator. The valve block is mainly composed of three parts: electronic control system, hydraulic system and mechanical system.
The electronic control system is responsible for receiving signals sent by operators through joysticks and transmitting commands to hydraulic components after processing. The hydraulic system converts manual signals into hydraulic signals to drive other components to work.
The mechanical system mainly includes the mechanical part and the pipeline part. The mechanical part is responsible for driving various devices to work; the pipeline part transmits various pressure oil signals in the hydraulic system.
Replace the cx210 case excavator o-rings on the boom cylinder rod ends
In the service manual for the cx210 case excavator you will see the boom cylinder rod ends. You will have to remove the boom cylinder rod end to replace the o-rings.
You need to use a three leg puller and a chain wrench to get the piston out.
If you look at the front of the piston you will see that there is a hex. Use a Allen wrench and stick it in this hole so that when you take off the rod end with your chain wrench, it won’t turn.
While it is still on the machine, be careful when removing it as there is oil in there. Put some rags around it to catch any oil.
The first thing to do is to put your chain wrench on one side of the piston and remove it from the cylinder housing. You may have to use an impact wrench for this. Be careful with this because you don’t want to damage anything in there. Remove slowly so that no oil leaks out and make sure that you are turning it counter clockwise. Once it starts coming out, let it slide out slowly but make sure that no oil comes out while doing this..
Install a new cx210 case excavator fuel filter
1.First, you need to take the old fuel filter out of the trackhoe and replace it with the new one.
2.Then, take the old fuel filter off of your hose that connects to the injector pump
3 .Next, put the new fuel filter on the hose and make sure you have a good grip on it so that it does not get contaminated.
4.Finally, connect your hoses together so they can be used again in future repairs or when needed.
Check for dirty or leaking cx210 case excavator air cleaner elements
The most common cause of low power is a clogged or dirty filter element. If the element is clean and the engine still sputters or runs rough, check for leaks in the hoses and between the filter head and intake manifold. A leak in this area can allow dirt to enter the engine and cause serious damage.
1. Inspect Elements
If you have a pre-cleaner, check for holes in the element, if equipped, and make sure all air is entering through it. Inspect pre-cleaners before replacing elements to avoid unnecessary service calls.
2. Check Hoses
Next, check for any loose connections at both ends of the hoses. Also look for leaks in the hoses themselves. Replace any damaged hoses immediately to prevent dirt from entering your engine intake system.
3. Inspect Filter Head Gaskets
The last step is to inspect the gasket between the filter head and intake manifold to make sure it’s not cracked or broken allowing dirt to bypass the filter element. If gaskets are damaged replace them immediately to prevent costly repairs later on.
Check cx210 case excavator for broken or worn-out hoses, lines, and fittings
Inspect for leaks and replace as necessary. Check all hydraulic fluid lines for proper routing. Inspect wiring harnesses and hydraulic lines for looseness, incorrect routing and rubbing on sharp edges. Check for damaged hoses and leaking fittings. Inspect fuel lines and tank vents for crimping or kinking. Replace any damaged lines. Check oil level in cases with diesel engines.
Check to see that the radiator cap is sealing properly by pushing down on it with your finger to see if it gives at all. If it does not give, do not attempt to force it past the gasket or you may break the seal.
This is important because a nonsealing radiator cap allows coolant to escape through the overflow tube into the cooling system drain pan under the radiator or onto the ground (if equipped). If a nonsealing radiator cap is suspected, replace it immediately to avoid damage to the engine due to overheating.
The cooling system must be kept clean of dirt and debris at all times in order for the engine to operate at normal temperatures. Any deposits which build up on the cooling system parts can restrict air flow and cause cavitation within the pump housing, impeller and cover plate causing premature failure.
Replace the cx210 case excavator hydraulic oil and filter(s)
Replacing the hydraulic oil and filter(s) on The cx210 excavator is not difficult if you have a few tools, a little time and some mechanical ability.
The first step is to drain the hydraulic system. In most cases it is best to run the boom down, the bucket in and the stick out. This will help with draining all of the oil from the system and also make it easier to refill when finished.
Remove all of the drain plugs from the bottom of the hydraulic tank. These can be removed with a hammer and screwdriver or a suitable socket wrench. Some models have a drain plug that is inside of another plug that must be removed with pliers or a small set of vice grips. Let everything drain for about 1 hour then put all of the plugs back in place. I recommend replacing your plugs with new ones, especially if they are already damaged or rusted in any way.
Remove all of your filters next. These are usually located on top of your hydraulic tank or sometimes mounted on one side, depending on your model. You should be able to remove these with a large pair of adjustable pliers or small set of vice grips.
Check if cx210 case excavator is any released clamp screws or loose connections on the ECM power connector
The Case cx210 excavator ECM power connector, located at the rear of the cab. To check that there are no released clamp screws or loose connections on the ECM power connector. If a screw has been released, tighten it to 1.5-2 Nm (11-15 in-lbs.) The ECM power connector is located in the cab, behind the operator’s seat, and must be accessible when the seat is swiveled to face forward. To remove the seat:
1. Unplug the 12-pin electrical connector from the seat bottom cushion.
2. Remove the middle cover above the floor box directly behind the seat by removing the two bolts with a 5 mm hex key and lifting up on the cover
3. Disconnect the wiring harness from pin 3 of J2 on the junction box by squeezing and pulling back on both sides of the locking tab
4. Remove Torx screw T45 from seat base mounting bracket
5. Remove lock nut and fastener from remaining seat base mounting bracket using an 8 mm hex key
6. Slide seat base off track while simultaneously lifting up slightly on front of seat base
Inspect cx210 case excavator electrical connectors for corrosion and proper seating
Using a dry cloth, clean the electrical connector and its mating surfaces.
Visually inspect the connector for signs of corrosion or damage. If you find any, replace the electrical connector.
After cleaning, apply a thin layer of dielectric grease to the connectors on both the sensor and its mating surface. Do not use too much grease as it may work its way into the wiring harness and cause shorts.
Check if cx210 case excavator is any high resistance or open circuits in engine harness connectors and wiring. Use an ohmmeter
1) Check if there is any high resistance or open circuits in engine harness connectors and wiring. Use an ohmmeter.
2) Check if there are any short circuits or open circuits in engine control unit power supply and ground wiring. Use an ohmmeter.
3) If no problems were found in the above steps, replace the engine control unit.”